
How to build a wedding seating plan without the stress
A strong seating plan does more than fit everybody into the room. It keeps families comfortable, creates natural conversations, and leaves enough flexibility for last-minute changes.
1. Start with a clean guest list, not with tables
Before drawing the room, confirm who is actually attending. Keep confirmed guests, unanswered invitations, and declined invitations in separate statuses. Treating every invited person as certain creates oversized tables and gaps that are difficult to repair.
Record couples, families, children, colleagues, and people who should stay together. Keep notes limited to useful seating information such as accessible placement, a high chair, a special menu, or a relationship that requires discretion.
- Use one row per person, even when the invitation was sent to a couple.
- Assign a clear RSVP status: confirmed, pending, or declined.
- Use simple groups such as family, friends, colleagues, or another meaningful circle.
- Keep notes short, factual, and necessary for planning.
2. Calculate the real capacity of each table
The venue's stated capacity is a limit, not a target. A round table sold for ten people may be more comfortable with eight or nine when children, special chairs, or large decorations are involved.
Compare the total number of seats with confirmed attendance. Two to four reserve places distributed around the room are often more useful than one completely empty table. Include photographers, musicians, and coordinators when the venue does not provide a separate staff area.
- Confirm the shape, size, and maximum seats for every table.
- Exclude the dance floor, stage, bar, and decorative elements from the seat count.
- Keep circulation routes and emergency access clear.
- Leave a few flexible places in different parts of the room.
3. Create groups that make sense in real life
Begin with obvious groups: immediate family, extended relatives, each partner's friends, colleagues, and neighbors. Then look for bridges between groups. Somebody who knows two circles can complete a table naturally without feeling like a spare guest.
Avoid placing one single guest at a table made entirely of couples. At the same time, do not automatically create a separate singles table. Shared interests and a similar stage of life are usually better criteria than relationship status.
- Keep couples together unless they specifically request otherwise.
- Seat children with parents, or at a dedicated table only when age and supervision make it appropriate.
- Discreetly separate guests with known conflicts.
- Distribute sociable guests so they support conversation across several tables.
4. Place the groups on the room layout
Once groups are stable, position their tables in the venue. Close family and people involved in key moments need good visibility of the couple, stage, and dance floor. For older guests, easy access and lower noise are more important than being close to speakers.
Work in versions. Place tables with strict requirements first, then flexible groups. If one move fixes a single seat but creates three new problems, return to the earlier version. A digital plan makes it easier to move groups and see occupancy immediately.
- Lock tables with accessibility or family requirements first.
- Add large groups that cannot be divided easily.
- Fill remaining places with guests who have genuine links to the group.
- Check the distribution of children, special menus, and accessible seats.
5. Run the final check three to five days before the event
Freeze an almost-final version several days before the wedding, but keep an editable copy. Compare it with the latest RSVP changes and the final attendance number given to the venue.
Review the plan table by table for duplicate names, missing guests, double assignments, separated couples, and over-capacity tables. Generate the A4 plan, alphabetical directory, and entrance-board cards only after this review.
- The confirmed guest total matches the number of seated people.
- No table exceeds its real capacity.
- Every guest appears exactly once.
- The printed plan and alphabetical list use the same data version.
Wedding seating questions
When should I start the seating plan?
You can begin grouping guests three or four weeks before the wedding, but finalize seats after the RSVP deadline, usually during the final week.
Do I need to fill every seat at a table?
No. Comfort and a coherent group matter more than maximum occupancy, although you should confirm any minimum table requirements with the venue.
What should I do with a last-day cancellation?
Leave the seat open when moving somebody would disrupt several other tables. Update the digital plan and entrance materials only when time permits.
Are round or rectangular tables better?
Round tables encourage group conversation, while rectangular tables can use some rooms more efficiently. The best option depends on the venue, capacity, and guest flow.
 DecoSublim Workshop
Custom Decorations & Accessories for Your Wedding
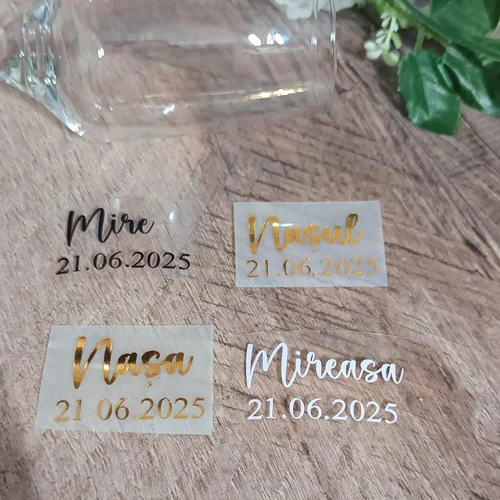
Beyond table planning, personalize every wedding detail: bespoke layered wooden names, glass vinyl stickers, custom cake toppers and engraved keepsake boxes.



Build the plan in a workspace that stays easy to update
Import guests from CSV, TXT, or pasted text, create tables, and assign seats with drag and drop. Planning is free; Print / PDF is activated separately only when you need it.
Start planning