
How to generate table cards or an alphabetical guest list
The Cards editor turns the final seating assignment into printable pages for an entrance display. Generate one card for every table or an alphabetical directory, then choose one of the two sizes, the background, fonts, text sizes, and alignment before printing.
1. Finalize the seating and generate one card per table
The Cards button becomes available after the event has tables and seated guests. In By Tables mode, the app creates one card for every table containing seated confirmed guests and displays the table name with its guest list.
Before working on the design, review RSVP status and seating assignments. Pending or declined people are not included in the final cards, so preview the set again after any guest-list change.
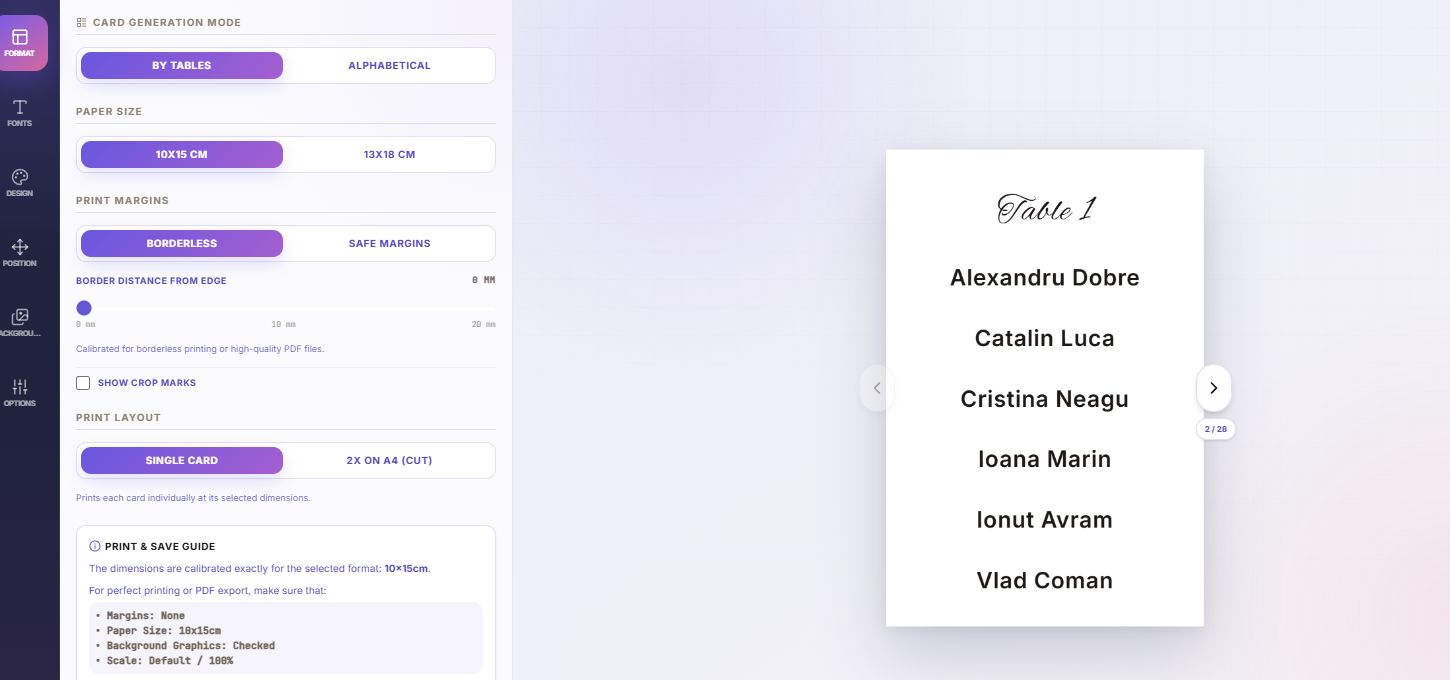
- Open Cards from the planner's top bar.
- Keep By Tables selected for a separate card per table.
- Use the preview arrows to inspect the entire set.
- Confirm that every table name and guest list matches the final plan.
2. Switch to Alphabetical for faster guest lookup
Alphabetical mode sorts seated confirmed guests by name and displays each person's table. Choose 1 Letter / Page or Continuous according to how you want letter groups to flow across the cards.
With one letter per page, you can adjust the maximum number of guests on a card. Preview letters with many names before deciding on the final size.
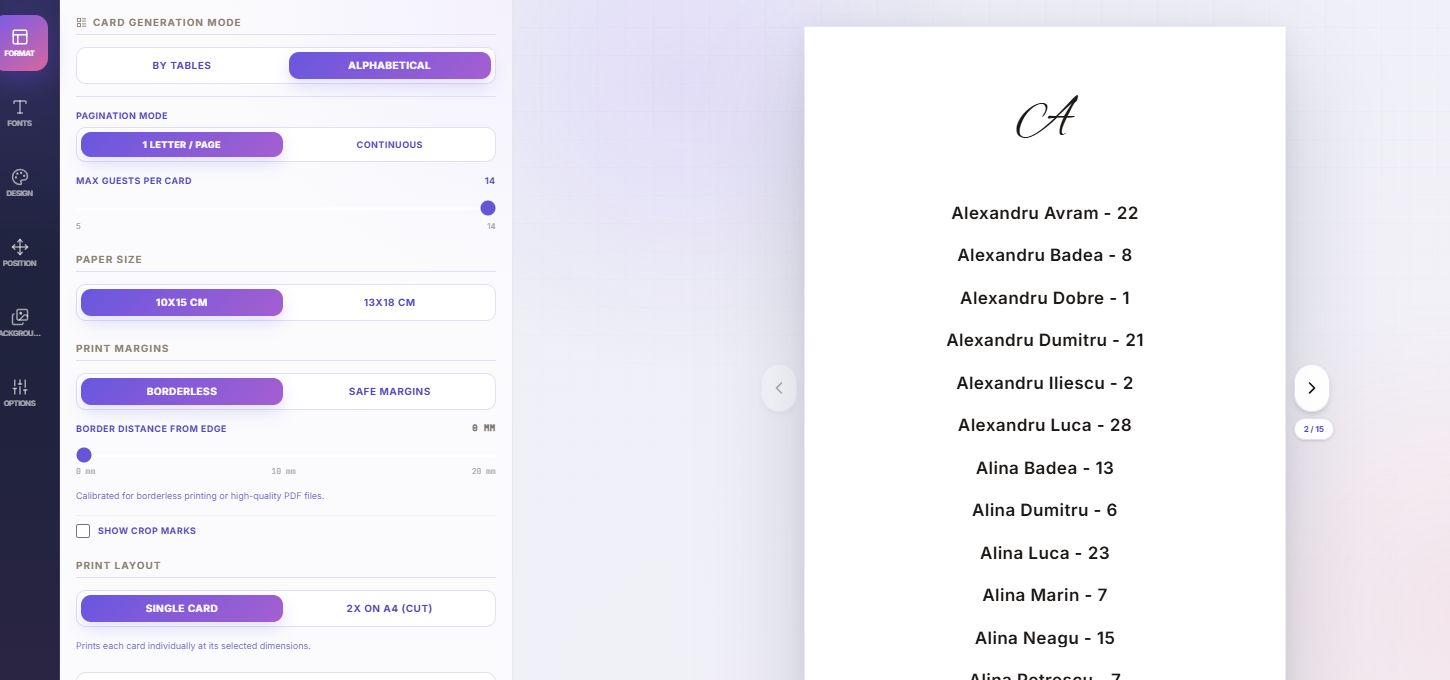
- Choose Alphabetical on the Format tab.
- Select 1 Letter / Page for clear separation or Continuous for flowing letter groups.
- Adjust the maximum guest count when using separate letter pages.
- Confirm that everybody who should appear is confirmed and seated.
3. Choose one of the two sizes and compare backgrounds
Cards are available in two sizes: 10×15 cm for a compact format and 13×18 cm for longer lists or larger text. Choose the size before making the final position adjustments.
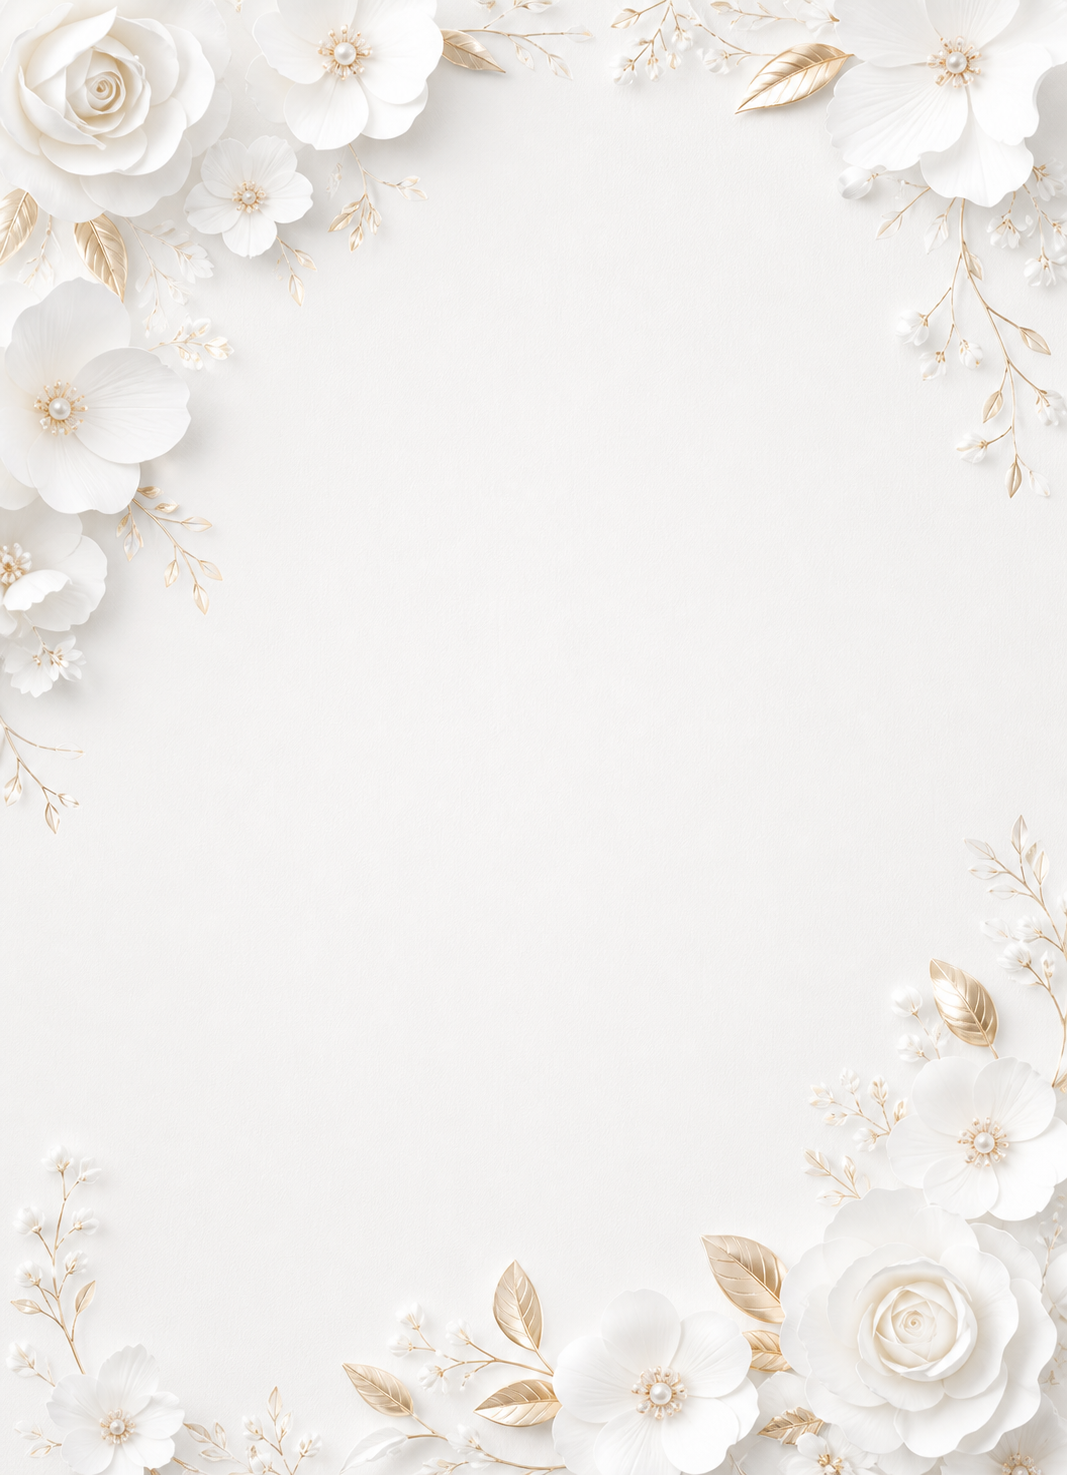
The gallery contains very different designs. Below is a curated group of nine image backgrounds — without the classic solid-color choices — selected for their varied flowers, textures, and contrast. A background fills the card, but some images include an inset decorative frame.
Background Opacity lets you soften the image until the heading and guest names are crystal clear. Choose your preferred background and opacity level, then adjust fonts and styling.
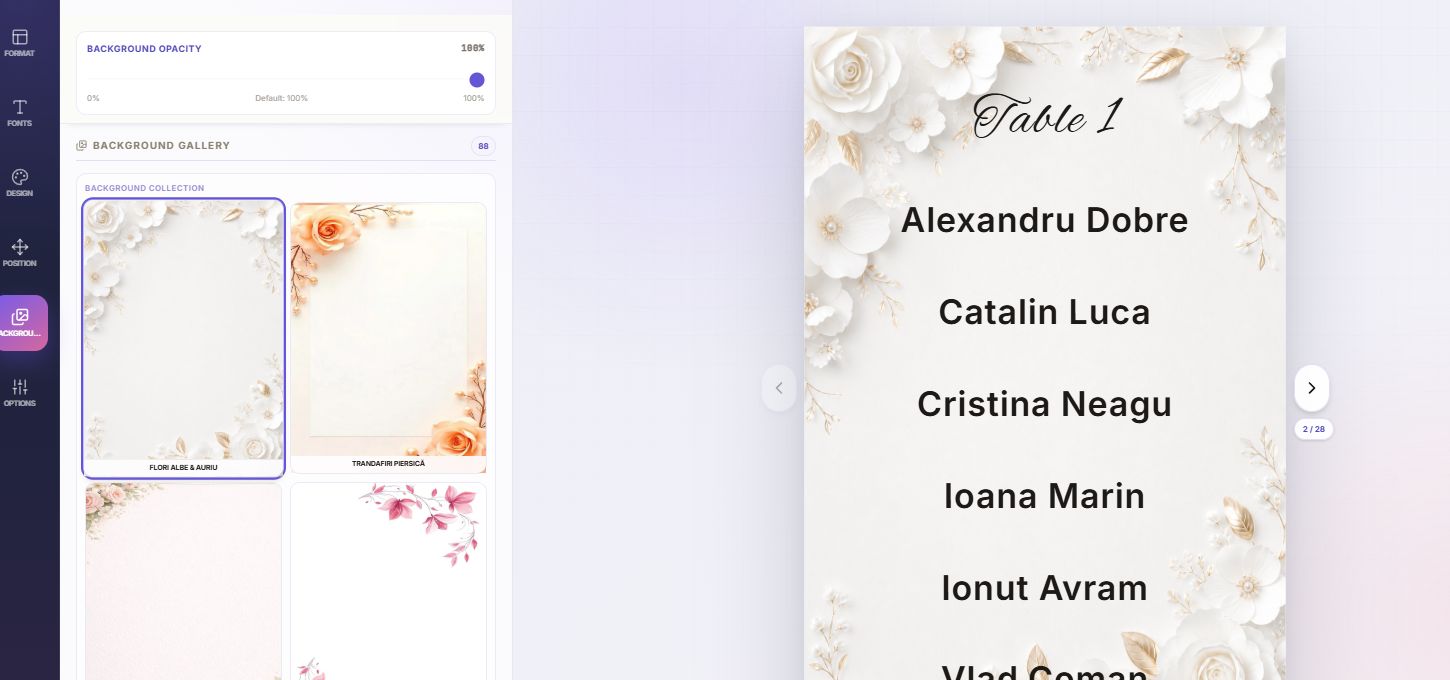


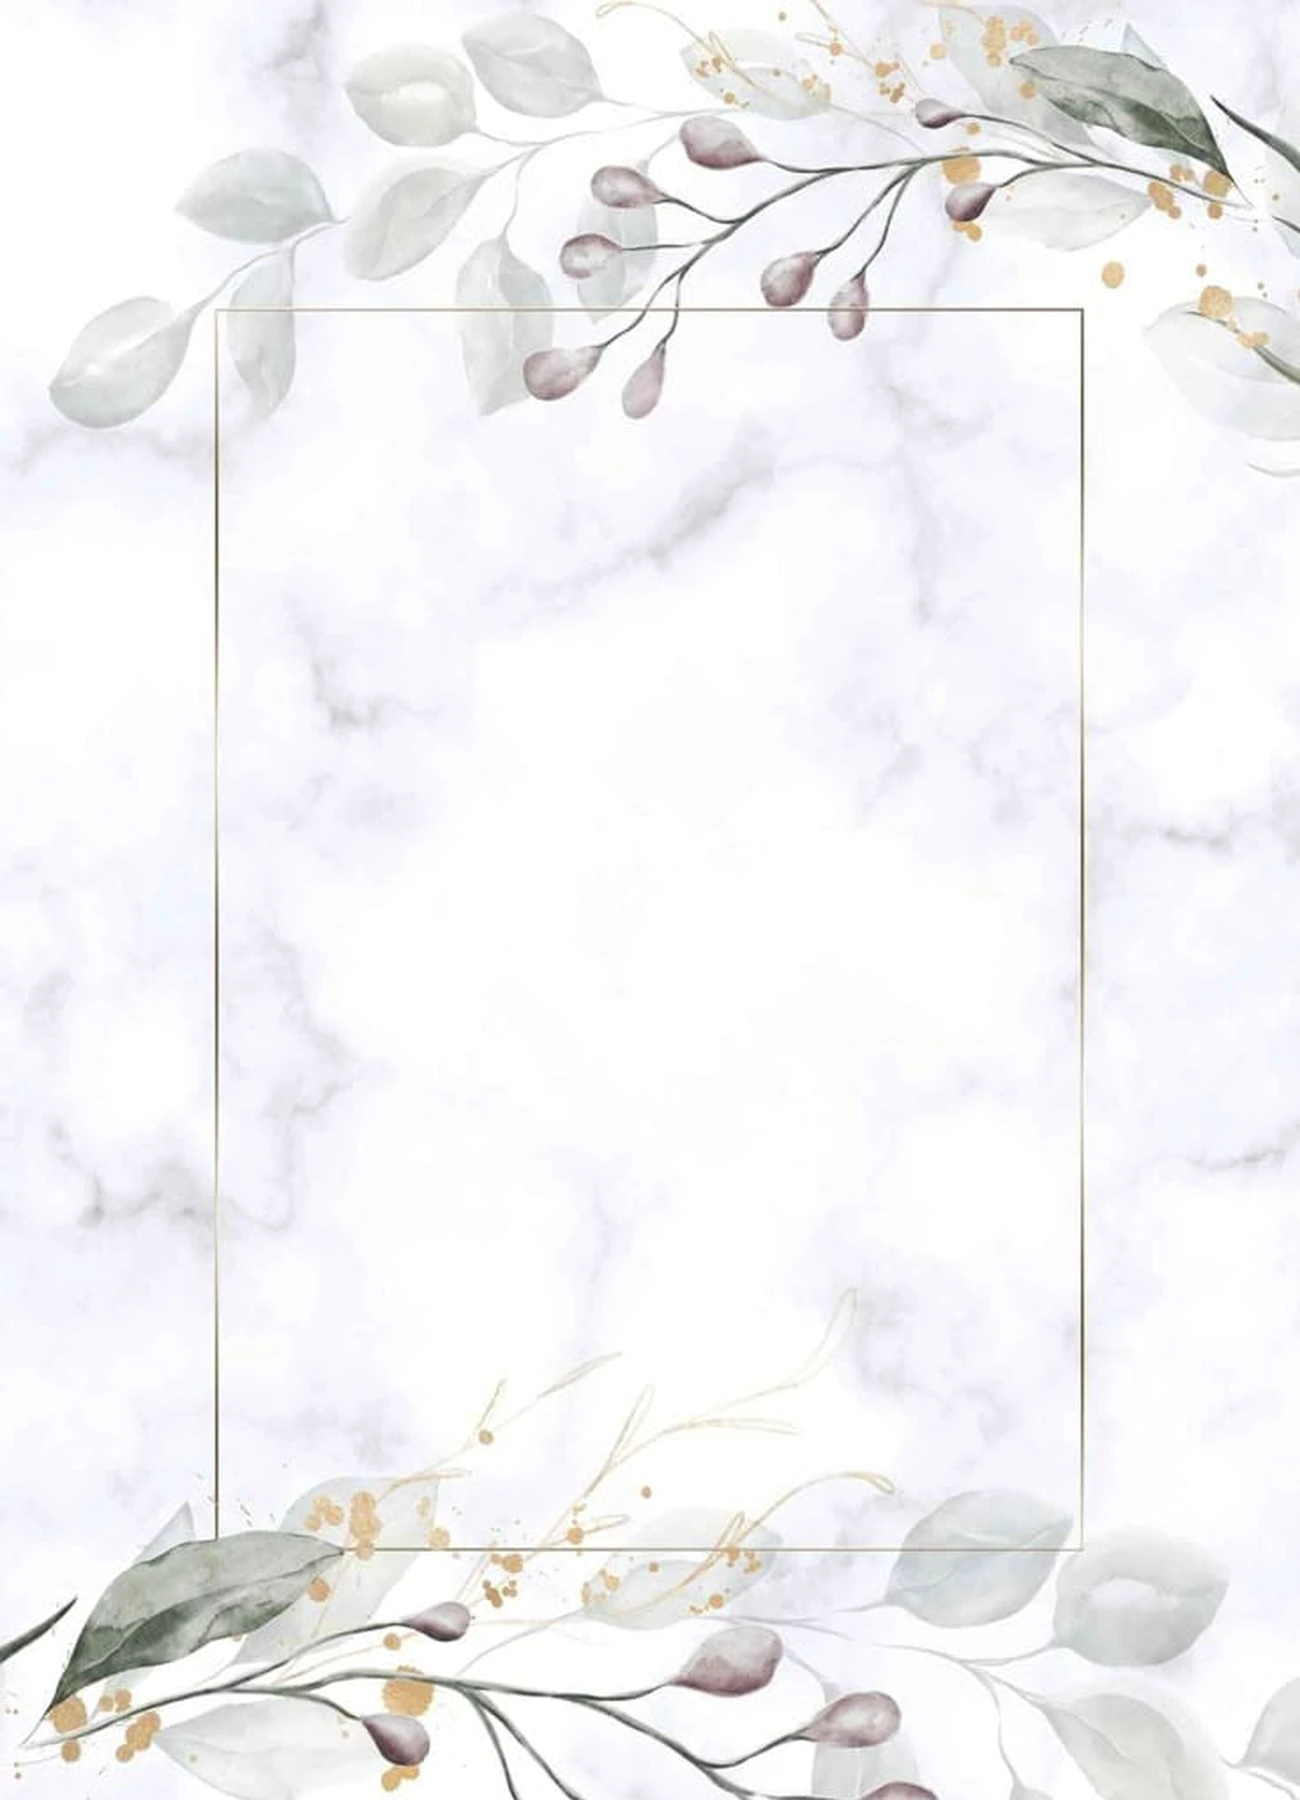
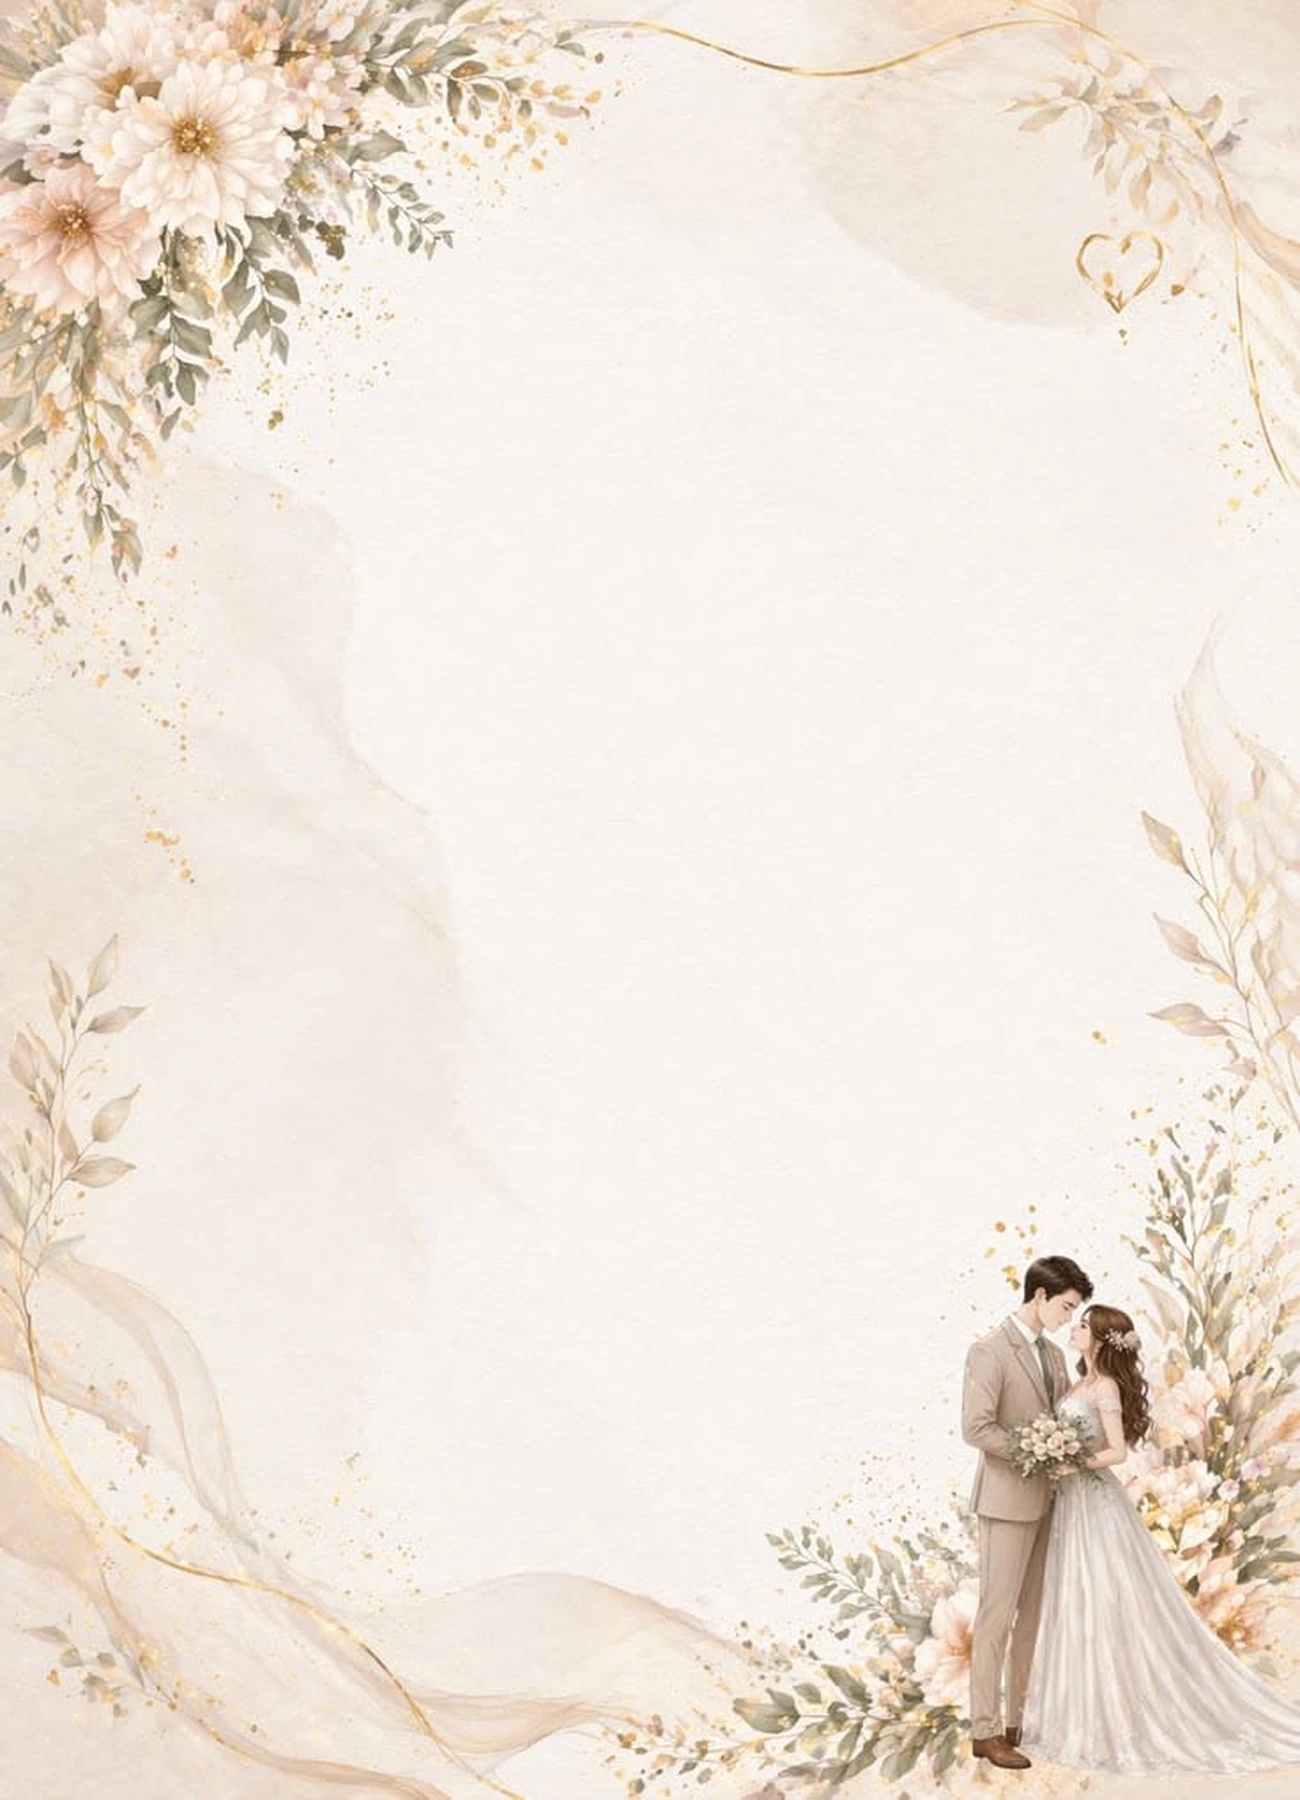



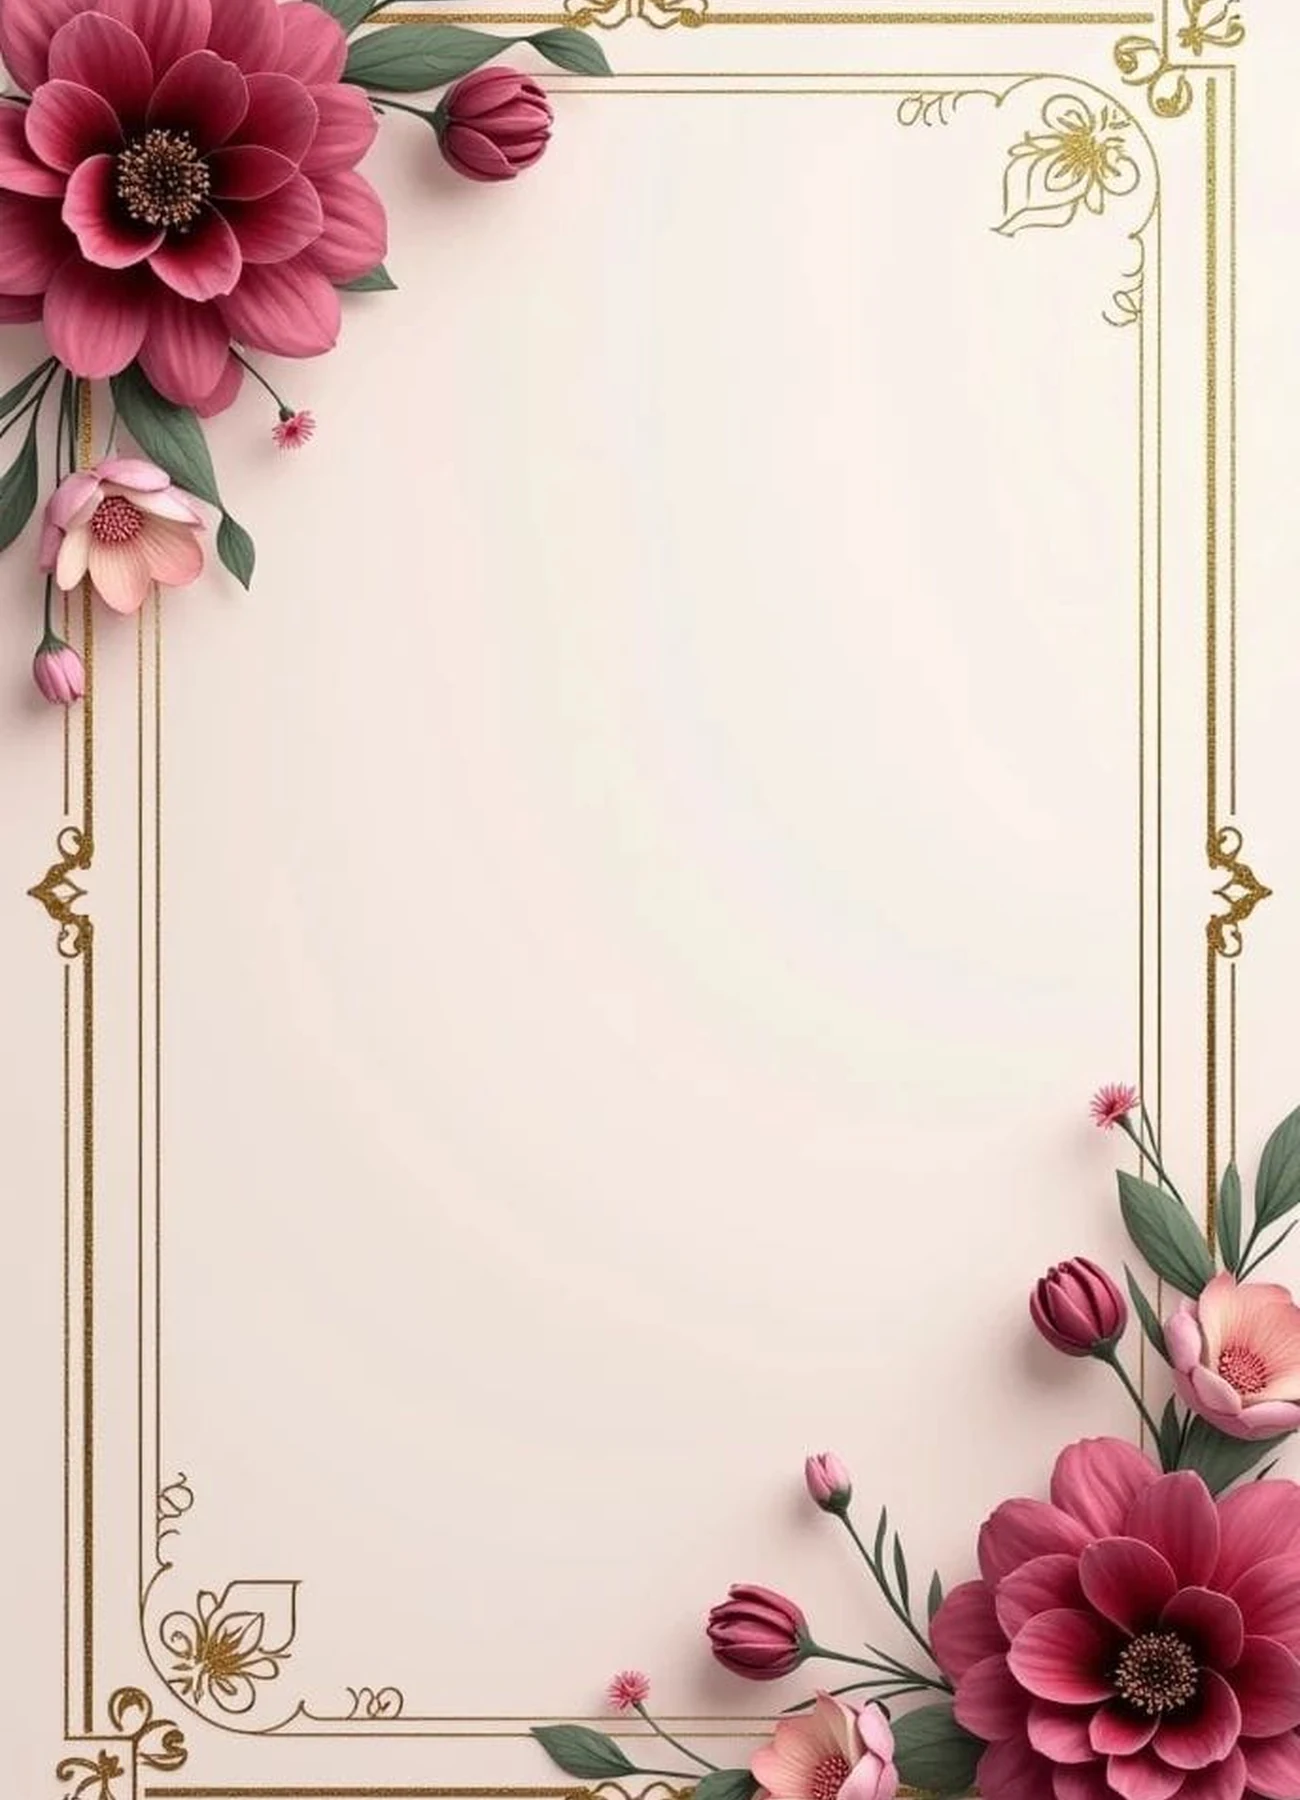
- Choose 10×15 cm for a compact card or 13×18 cm for more space.
- Compare several backgrounds in the live preview.
- Keep enough background opacity for the design while preserving name contrast.
- Do not use the physical page edge as the text limit when the design has an inset frame.
4. Choose fonts and adjust the text sizes separately
Fonts keeps title typography separate from the guest list. Use a calligraphic or serif face for the table name or alphabetical letter, and a simpler readable font for guest names.
Size is controlled at three levels: Table / letter, Guest names, and Special guests. You can enlarge the heading without changing the list or highlight special people such as staff, services, band members, or musicians independently.
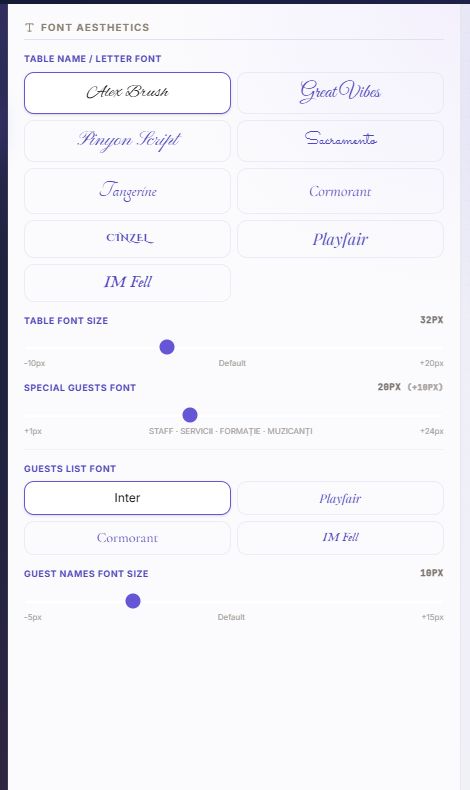
- For Table / letter: Alex Brush, Great Vibes, Pinyon Script, Sacramento, Tangerine, Cormorant, Cinzel, Playfair, or IM Fell.
- For the Guest list: Inter, Playfair, Cormorant, or IM Fell.
- Increase or decrease the heading and guest-name sizes separately.
- Adjust the special-guest size without changing the rest of the list.
5. Optional separator, border, footer, and numbering
Decorative styling elements are fully optional. From the Design tab you can add floral dividers, double borders, or corner ornaments, or leave them disabled for a clean, minimalist card.
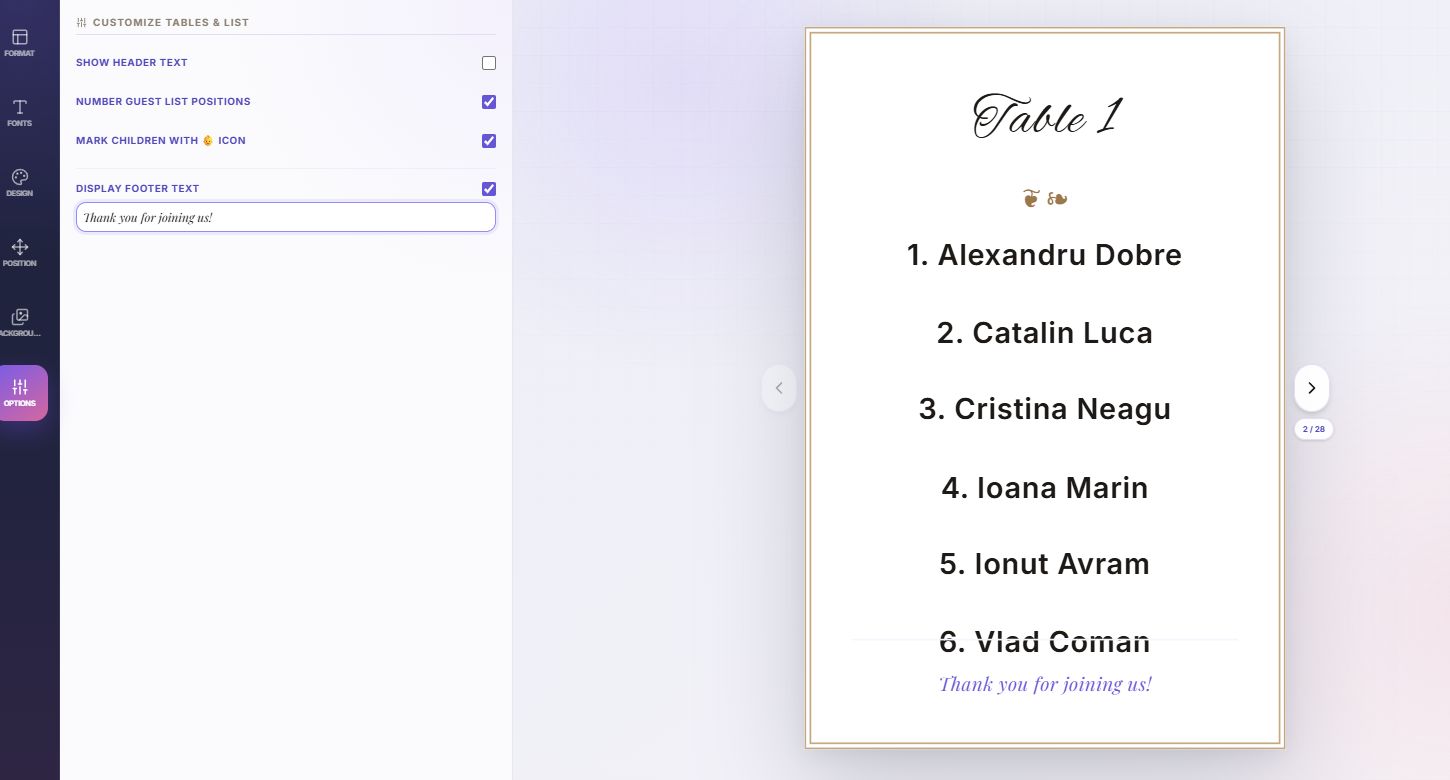
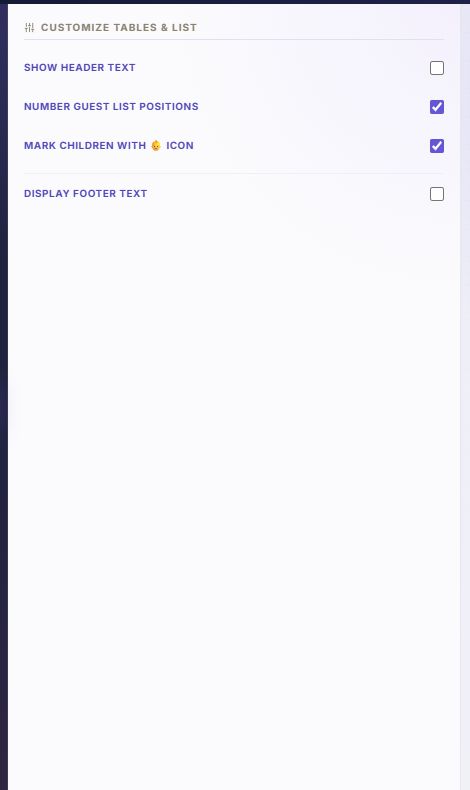
In the Options tab you can choose whether to display card headers, seat numbering, child indicator icons, and a custom thank-you footer message.
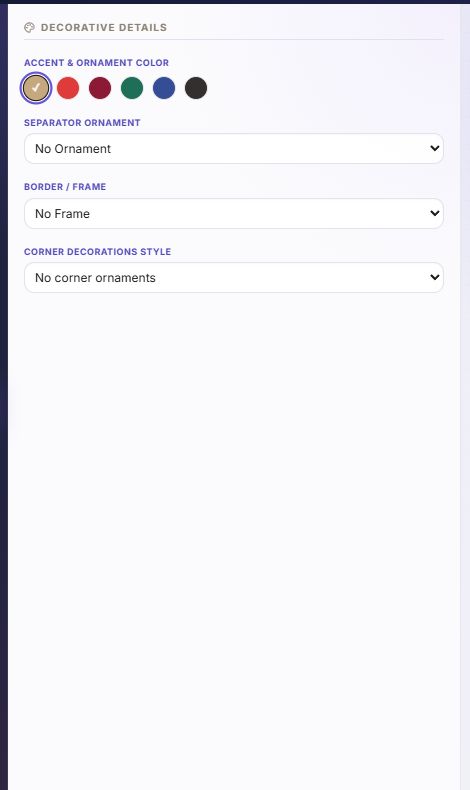
- Choose No Ornament to remove the separator between the table heading and guest list.
- Choose No Border when the background already includes a frame or you want a minimalist layout.
- Leave Display footer text off for a card with no message at the bottom.
- Enable numbering and the child marker only when they support how the list will be used.
6. Choose alignment, move the blocks, and tighten row spacing
In the Position tab, the guest list can be aligned Left, Center, or Right. Center alignment gives a classic celebratory look, left alignment makes long lists effortless to read, and right alignment complements asymmetrical floral backgrounds.
Move Table & ornament, Guest list, and Footer independently with their Horizontal and Vertical controls. Move Row spacing toward Compact when names need to fit within a smaller area drawn into the background.
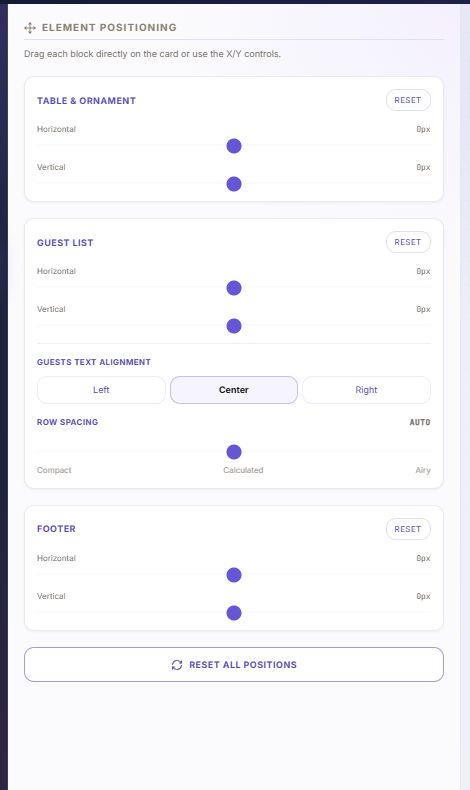
- Choose Left, Center, or Right for the guest list.
- Raise or lower the Guest list independently from the heading.
- Reduce Row spacing only as much as readability allows.
- Use Reset all positions if you want to start the adjustments again.
7. Review every page and unlock printing at the end
Format supports one card on its own page or two cards side by side on A4 for cutting. Choose Borderless or Safe Margins, and enable crop marks only when useful for your finishing workflow.
Once every preview is correct, select Unlock Print. After print access is activated, the button becomes Print Directly and the browser dialog can print the set or save it as a PDF.
- Inspect every page with the side arrows.
- Choose Single Card or 2× on A4 according to the paper you use.
- Enable background graphics in the browser print dialog.
- Keep scaling at 100% and use the paper size selected in the editor.
Table-card questions
Why is a guest missing from a card?
Cards use confirmed guests who are seated at tables. Check the person's RSVP status and current seat.
Can I move only the heading without moving the list?
Yes. Table & ornament, Guest list, and Footer are independent blocks with their own horizontal and vertical positions.
How do I fit names inside a smaller decorative frame?
Select the background, move the heading and list inside its frame, then reduce row spacing. Review every card, not only the first one.
Can I save the cards as a PDF?
Yes. After unlocking printing, choose PDF output in the browser's print dialog.
 DecoSublim Workshop
Custom Decorations & Accessories for Your Wedding
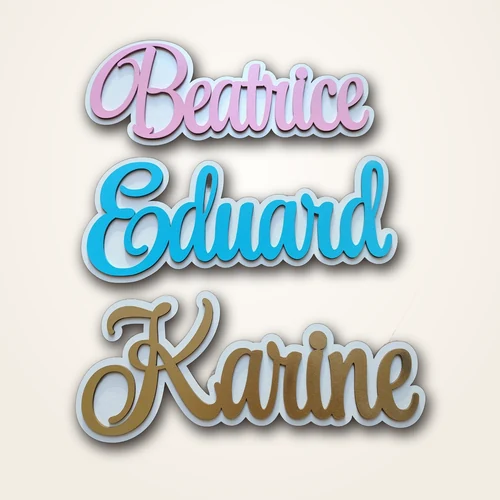
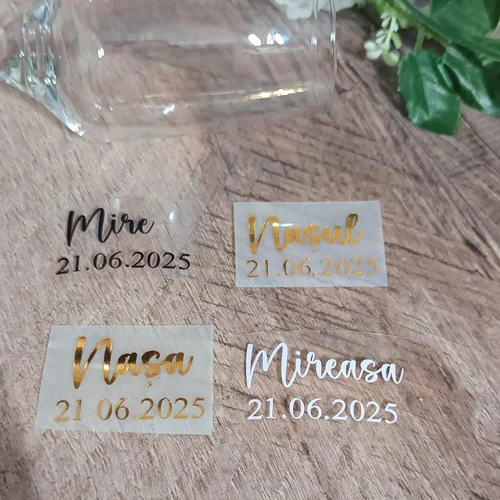
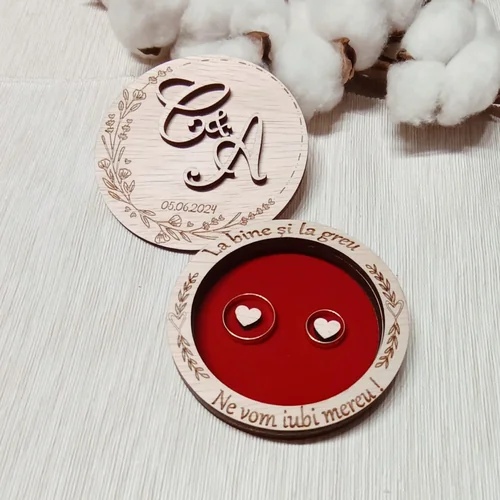
Beyond table planning, personalize every wedding detail: bespoke layered wooden names, glass vinyl stickers, custom cake toppers and engraved keepsake boxes.

Create cards from your final seating plan
Build the tables, seat the guests, and customize every card in the live preview. Planning is free; Print / PDF is activated separately only when needed.
Open the planner