
How to print the A4 seating plan and an entrance directory
Plan creates an A4 document from the current seating assignment. Its first pages group guests by table, while the alphabetical-list option appends a quick directory pairing every person with their table.
1. Review the event data before opening Plan
The A4 plan uses the event's existing tables, seats, and guests. Open it only after reviewing seating assignments, RSVP responses, and anybody who should no longer occupy a place.
Table pages include the people currently placed in table seats. The alphabetical directory uses the event guest list and displays the table it finds or marks the person as unseated, so a final guest review is essential.
- Confirm that every seat belongs to the correct person.
- Clear the places of declined guests before printing.
- Correct names and remove duplicates.
- Review everybody without a table separately.
2. Configure A4 pages with guests grouped by table
Select Plan and open Layout. Choose from one to four tables per row and one to five table rows per page. The preview splits tables across A4 sheets and displays each table name, its person count, and the seated guests.
Use a more compact density or fewer rows when a long table list approaches the page edge. Narrow, Standard, or Wide page margins and the red printable-area guide help accommodate the printer.
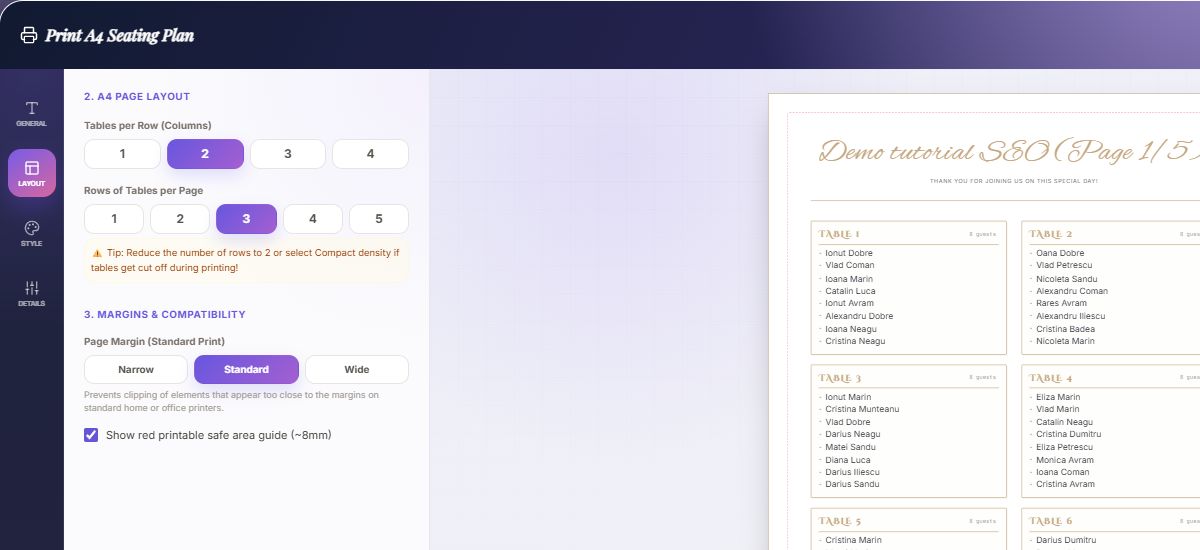
- Choose a column and row count suited to your guest lists.
- Review every page using the navigation under the preview.
- Use the safe-area guide for printers that cannot print to the edge.
- Reduce density if names approach a table-card boundary.
3. Add an alphabetical directory for the entrance attendant
On Details, enable Add alphabetical guest list. After the table pages, the app appends a two-column directory sorted by name, with every guest paired with their table.
This page is designed for reception: the entrance attendant looks up a name and immediately gives the guest their table. Anybody without an assigned seat is marked as unseated, making issues easier to spot before final printing.
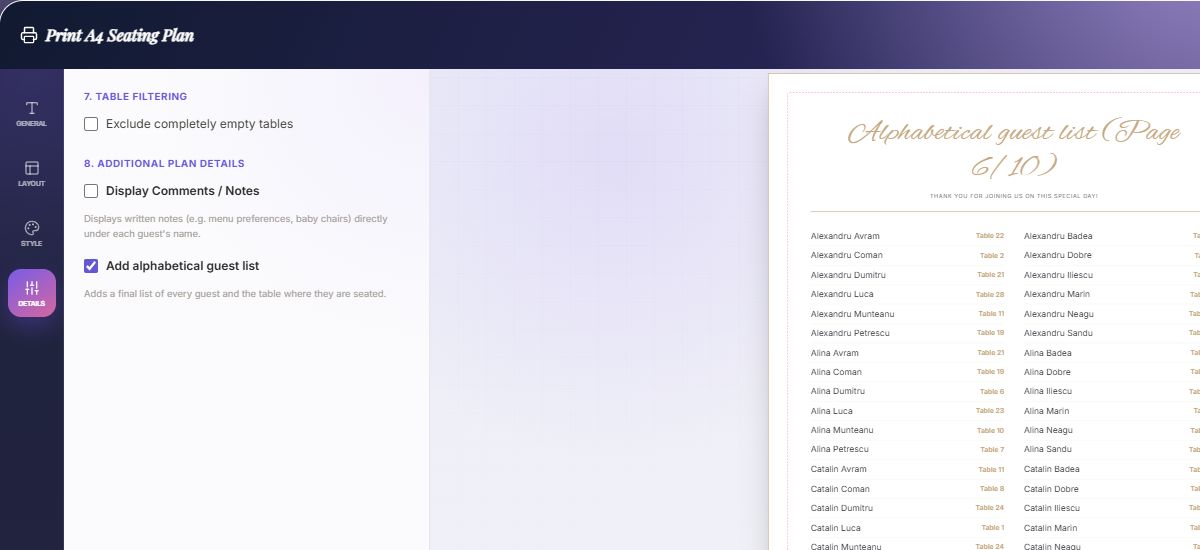
- Open Details and enable Add alphabetical guest list.
- Navigate beyond the last table page to preview it.
- Search several names from the beginning, middle, and end of the alphabet.
- Resolve every unseated label before the event.
4. Review settings and unlock Print / PDF
Before printing, customize the title, subtitle, fonts, colors, density, and optional guest notes. If notes are visible, confirm that they do not expose information the entrance team does not need.
Select Unlock Print / PDF when the document is final. In the browser print dialog, use A4 Portrait, remove browser headers and footers, enable background graphics, and inspect the preview before printing or saving a PDF.
- Format: A4 Portrait.
- Browser-dialog margins: None when supported by the printer.
- Browser headers and footers: disabled.
- Background graphics: enabled.
A4 seating-plan questions
Does the alphabetical directory replace the table plan?
No. It is appended after the table pages. The opening pages remain grouped by table, while the alphabetical section is a separate lookup directory.
Are guests without a table included in the alphabetical directory?
Yes. The directory uses the event guest list and marks people for whom it cannot find a table, so you can review them before printing.
Can I change how many tables appear on one page?
Yes. Layout supports one to four columns and one to five rows of tables per page.
Can I save the A4 plan as a PDF?
Yes. After unlocking Print / PDF, use the PDF destination in the browser's print dialog.
 DecoSublim Workshop
Custom Decorations & Accessories for Your Wedding
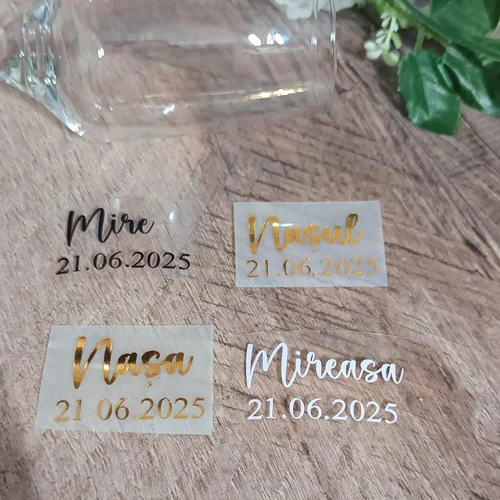
Beyond table planning, personalize every wedding detail: bespoke layered wooden names, glass vinyl stickers, custom cake toppers and engraved keepsake boxes.



Generate the materials for the event entrance
Keep the grouped table pages and alphabetical directory in one current document. Planning is free; Print / PDF is activated separately only when needed.
Open the planner